
How to Make Clean Cold Brew at Home with Gear You Already Own
By Paul Peery · August 19, 2026 · 4 min read
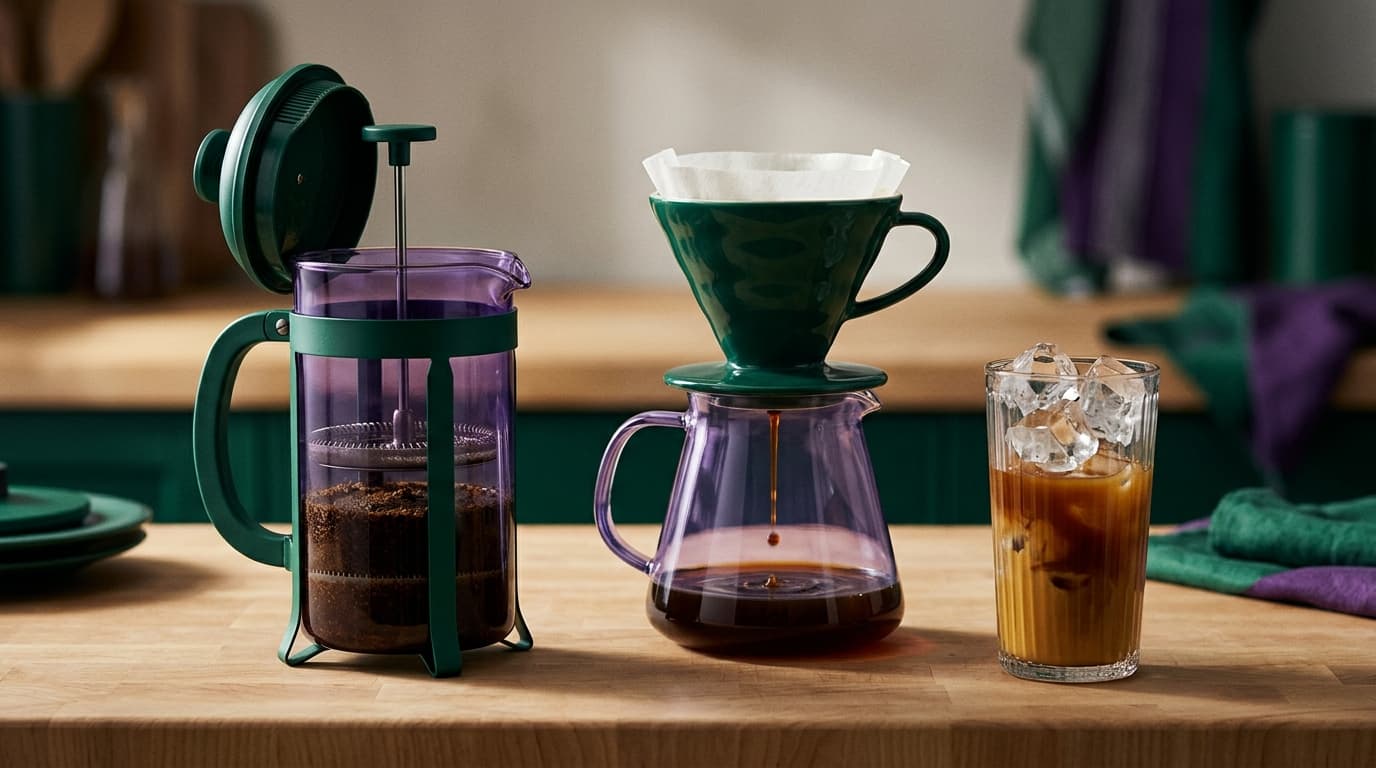
You do not need a $40 dedicated cold brew carafe with a stainless steel filter basket to make smooth iced coffee. In fact, most single-purpose cold brew pitchers produce muddy coffee because their built-in metal mesh lets fine coffee silt pass straight into your brew, leaving a chalky residue in the bottom of every glass.
Cold extraction is pure immersion chemistry. As long as you have a vessel to hold water and coffee grounds, you already own everything necessary. Making cafe-quality cold brew comes down to getting the concentrate math right, respecting extraction time, and running one quick filtration trick that dedicated brewers skip.
The math works best as a concentrate
You can brew cold brew at a ready-to-drink ratio (around 1:12 to 1:15 coffee-to-water by weight), but brewing a concentrate at 1:5 by weight is far more practical for home use.
Brewing concentrate saves valuable refrigerator shelf space. A single 32-ounce jar yields enough base for several days of drinks once cut with water or milk. Brewing concentrate also protects your drink from turning watery: when you pour cold concentrate over a glass full of ice, the melting ice dilutes the drink to standard drinking strength rather than washing it out.
Here is the standard concentrate math:
- 100 grams of coarsely ground coffee to 500 grams of water (about 1:5 ratio by weight).
- In volume measurements: roughly 1 cup of whole beans ground coarse to 2 cups of water.
- Dilution: mix 1 part concentrate with 1 part cold water, oat milk, or dairy milk over ice.
If you prefer a lighter, ready-to-drink batch that you pour straight from the jar without dilution, use a 1:8 or 1:10 ratio instead. But for flexibility and fridge efficiency, 1:5 concentrate is the sweet spot.
French press or mason jar does the exact same job
Coffee grounds do not know whether they are sitting inside a $50 branded pitcher or a $2 mason jar from the pantry. All cold brewing requires is an airtight glass container that allows grounds to stay submerged in water.
If you already own a standard 8-cup (34 oz / 1 liter) French press, you have an ideal steeping vessel. Add your coffee grounds, pour room-temperature or cold filtered water over them, stir gently with a spoon to saturate all the grounds, and rest the plunger lid on top without pushing down.
If you do not have a French press, a standard wide-mouth quart (32 oz) mason jar works just as well. Combine the grounds and water, stir, seal the lid, and let it sit. If you have already dialed in a basic home coffee setup, your existing burr grinder and kitchen jars are all you need.
Grind size protects you from bitter sludge
Cold brew requires the coarsest setting on your grinder—coarse sea salt or breadcrumb consistency.
Fine grinds extract quickly and release bitter, woody notes over a long steep. Worse, fine particles (fines) pass right through mesh strainers and instantly clog paper filters when you try to decant your batch. A coarse, uniform grind slows down extraction so you get natural chocolate and caramel notes without astringency.
If you buy pre-ground bag coffee from the grocery store, it is almost certainly ground medium for drip machines. You can still steep it in a pinch, but you must shorten the steep time by 3 to 4 hours and expect a slower filtration step.
Time and temperature dictate the steeping window
You have two options for where your jar sits while it steeps:
- In the refrigerator (18 to 24 hours): Cold temperatures slow extraction down, giving you a wider margin of error. If you forget about your jar for an extra two hours, it will not ruin the batch. Fridge steeping produces a cleaner, crisp cup.
- On the counter at room temperature (12 to 16 hours): Warmer ambient temperature speeds up extraction. This is handy if you start a batch in the evening and want to drink it first thing in the morning. However, letting a room-temperature batch steep past 18 hours can pull harsh, oxidized flavors.
For consistent results, 18 to 20 hours in the fridge is the most reliable routine. Set it up in the afternoon, filter it the next morning, and your concentrate is done.
The honesty beat: why mesh filters leave grit (and how to fix it)
The biggest drawback of making cold brew in a French press or a jar is the sludge. Metal plungers and wire mesh strainers only catch particles down to roughly 100–200 microns. The micro-fines settle at the bottom of the container, continuing to extract and turning your refrigerated concentrate sour over 3 to 4 days.
The fix is a simple two-stage separation:
- First pass (coarse separation): If using a French press, press the plunger down slowly. If using a jar, pour the liquid through a basic metal kitchen sieve to catch the heavy clump of grounds.
- Second pass (paper cleanup): Pour that strained liquid through a standard paper filter—a regular drip basket filter, a V60 cone, or a disc filter from an AeroPress placed in a small funnel.
Because the first pass caught 95% of the bulk grounds, the paper filter will not clog or stall. In less than two minutes, you get crystal-clear, dark concentrate with zero sediment. Stored in a sealed bottle or jar in the fridge, this clean concentrate stays fresh for up to two weeks without turning stale.
If you also make espresso or iced Americanos using a budget espresso setup, you will notice that properly filtered cold brew has much lower perceived acidity and a heavier, naturally sweeter body.
One-page cold brew cheatsheet
Keep this recipe pinned for your next batch:
- Grind: Coarse (like kosher salt)
- Dose: 100g coffee to 500g water (1:5 concentrate ratio)
- Steep: 18–20 hours in the refrigerator
- Filter: Plunge or strain bulk grounds, then run liquid through one paper coffee filter
- Serve: 1 part concentrate + 1 part cold water or milk over ice
Keep reading
All posts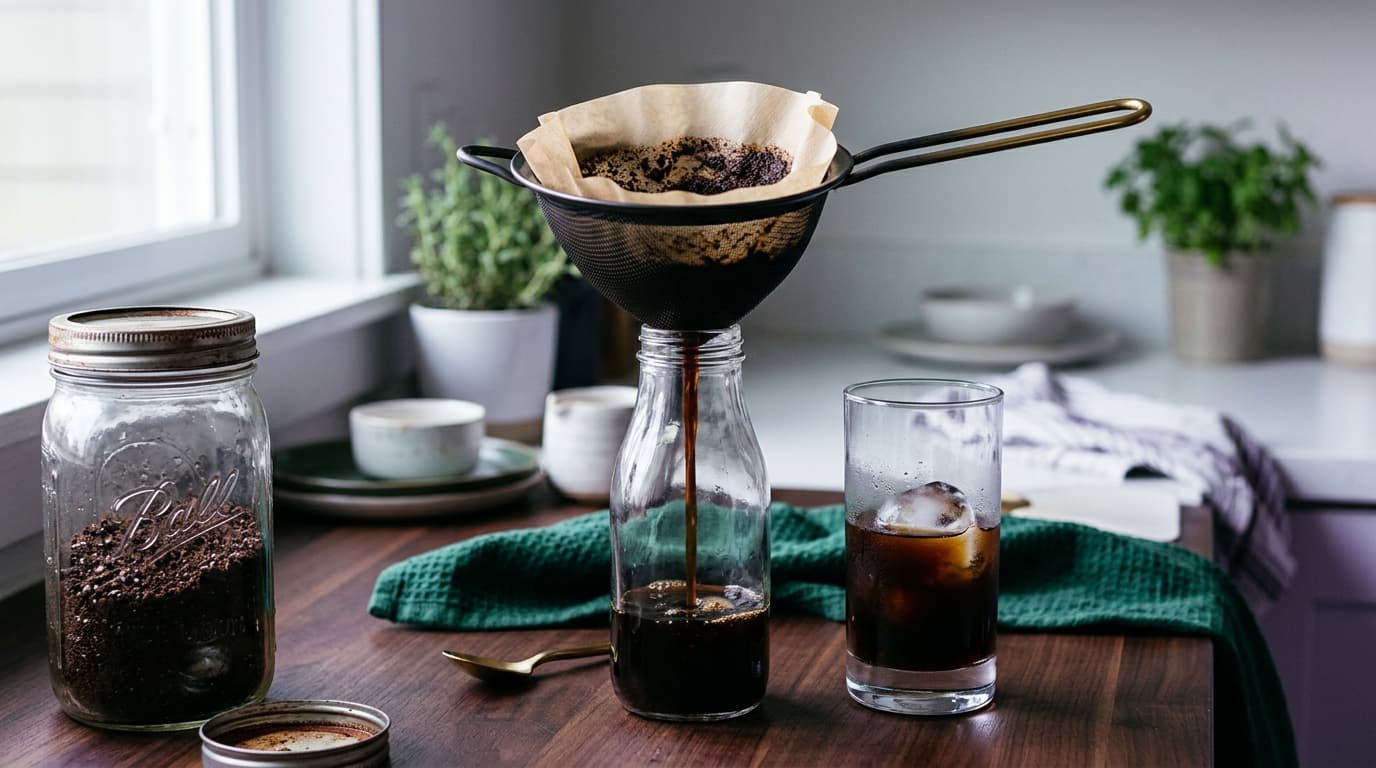
My Cheap No-Fuss Cold Brew Method for Summer
Simple cold brew with basic kitchen gear, a reliable coffee-to-water ratio, and easy fridge storage so one batch covers the week. Great iced coffee at home without extra gadgets.
July 21, 2026 · 3 min read