
The Budget Pour-Over Setup: Great Coffee for Under $50
By Paul Peery · August 25, 2026 · 3 min read
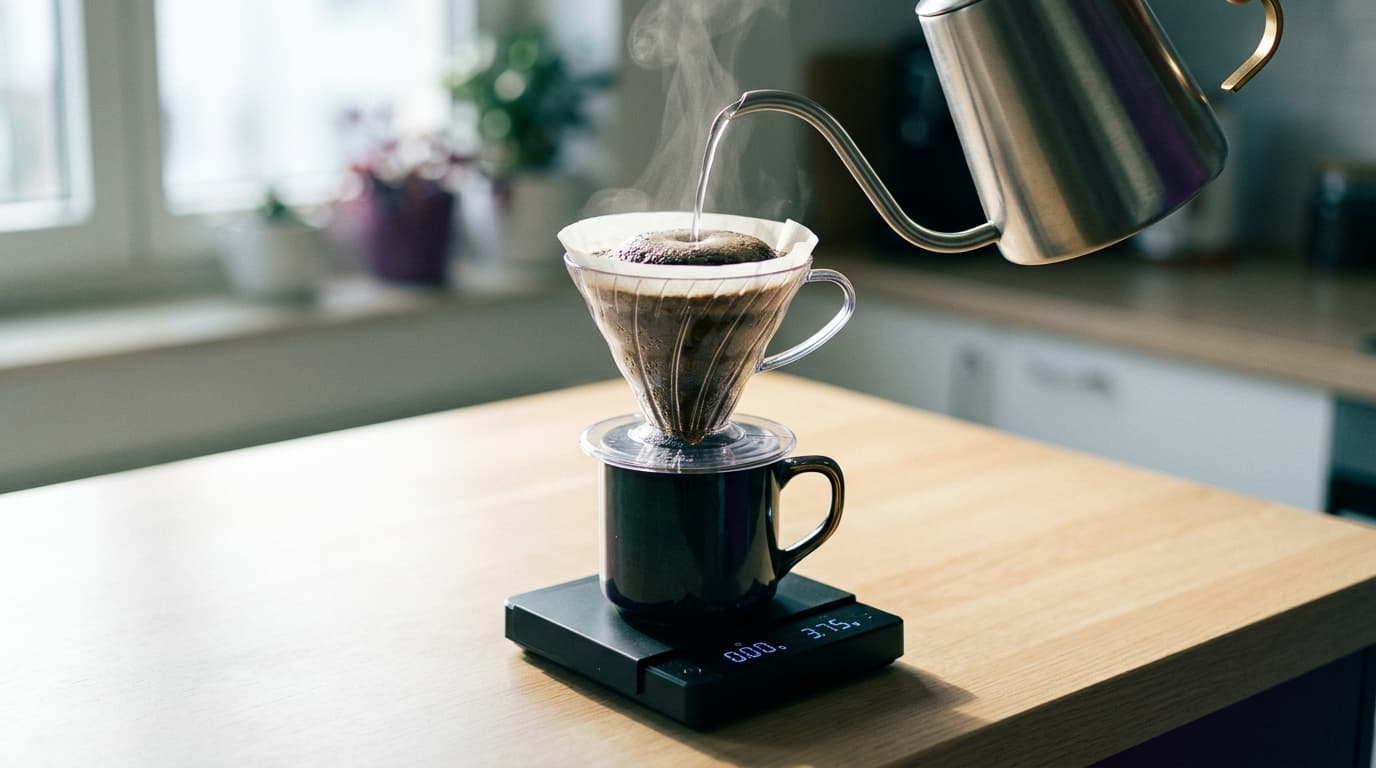
A $12 piece of moulded plastic routinely produces a cleaner, more complex cup of coffee than a $300 countertop drip machine.
Most people assume specialty coffee requires a counter full of brushed-steel appliances with touchscreens and Bluetooth connectivity. But coffee extraction does not care how much an appliance cost. It only cares about water temperature, grind consistency, and contact time.
When you control those three variables by hand, cheap manual brewers beat expensive automated machines almost every time.
Plastic beats ceramic because it doesn't steal your heat
The standard specialty recommendation is the Hario V60 in size 02. You can buy it in ceramic, glass, copper, or lightweight plastic. The plastic version is the cheapest, usually running between $10 and $14.
It is also the best performer.
Ceramic and glass look premium on a shelf, but they have high thermal mass. When you pour hot water into a cold ceramic dripper, the heavy material absorbs heat straight out of the brew water. That drops your slurry temperature right when you need steady heat to extract sugars and delicate aromatics. Pre-heating ceramic takes half a kettle of boiling water just to warm the cone.
Plastic is an insulator with very low thermal conductivity. It absorbs almost zero heat from the water, meaning your brew temperature stays stable from the first pour to the final drawdown. It also will not shatter on a tile floor.
The exact sub-$50 gear list
Building a capable manual brewing station does not require specialized retail kits. You only need three items to get started:
- Hario V60 Plastic Dripper (Size 02): Roughly $10 to $14. The 02 size handles anything from a single 250-gram mug up to a half-liter carafe.
- Hario Tabbed Paper Filters (100-pack): Around $7 to $9. Stick with the official paper cone filters. Cheap third-party generic cones often clog and stall your drawdown.
- Digital scale with a built-in timer: Around $15 to $20 on Amazon. Any compact kitchen scale accurate to 0.1 grams with a tare button works fine.
That puts the core kit between $32 and $43 before taxes.
You do not need an expensive gooseneck kettle on day one. A standard tea kettle or a Pyrex measuring cup with a clean pour spout is enough to learn the mechanics. If you eventually want precision flow control, an entry-level stovetop gooseneck runs roughly $20.
As I noted when breaking down my practical home coffee setup, the single piece of hardware that actually dictates extraction quality is a decent burr grinder. If you only have pre-ground coffee or a cheap blade grinder right now, manual immersion methods like a French press or homemade cold brew are far more forgiving than pour-over.
Where manual brewing demands your effort
The catch with manual pour-over is that it offers zero automation. It will not forgive rushing or careless technique.
If you pour water unevenly, stream water straight down the side of the paper, or grind beans with a cheap whirly-blade grinder, the water will find the path of least resistance. That tunneling (called channeling) leaves half your coffee grounds under-extracted and sour while over-extracting the rest into bitter astringency. Much like setting up budget espresso at home, you are trading the convenience of push-button machines for total control over the result.
If you want to press a single button at 6:00 AM and walk away while your coffee brews into a pot, stick with a certified drip brewer. Manual pour-over requires standing at the counter for three focused minutes.
The reliable 3-minute brew routine
To brew a balanced 12-ounce mug without overcomplicating things, use a standard 1:16 ratio:
- Coffee: 20 grams, ground medium-fine (resembling coarse sea salt)
- Water: 320 grams, just off the boil (around 200°F to 205°F)
Set your V60 and rinsed filter over your mug on the scale, add the ground coffee, and tare the scale to zero.
Start the timer and pour 60 grams of water in a spiral, soaking all the grounds. Wait 45 seconds. This is the bloom—it releases trapped carbon dioxide gas so water can penetrate the coffee particles evenly.
At 45 seconds, pour steadily in gentle concentric circles until the scale hits 200 grams. Keep the stream close to the bed to avoid excessive agitation.
Once the water drains down by about half (around 1:30), pour gently until the scale reads 320 grams. Let it draw down completely. The entire brew should finish between 2:45 and 3:15, leaving a flat, uniform bed of grounds in the paper.
Adjust your grind slightly finer if the water drained too fast and tastes weak, or slightly coarser if it stalled and tastes dry or bitter.
Keep reading
All posts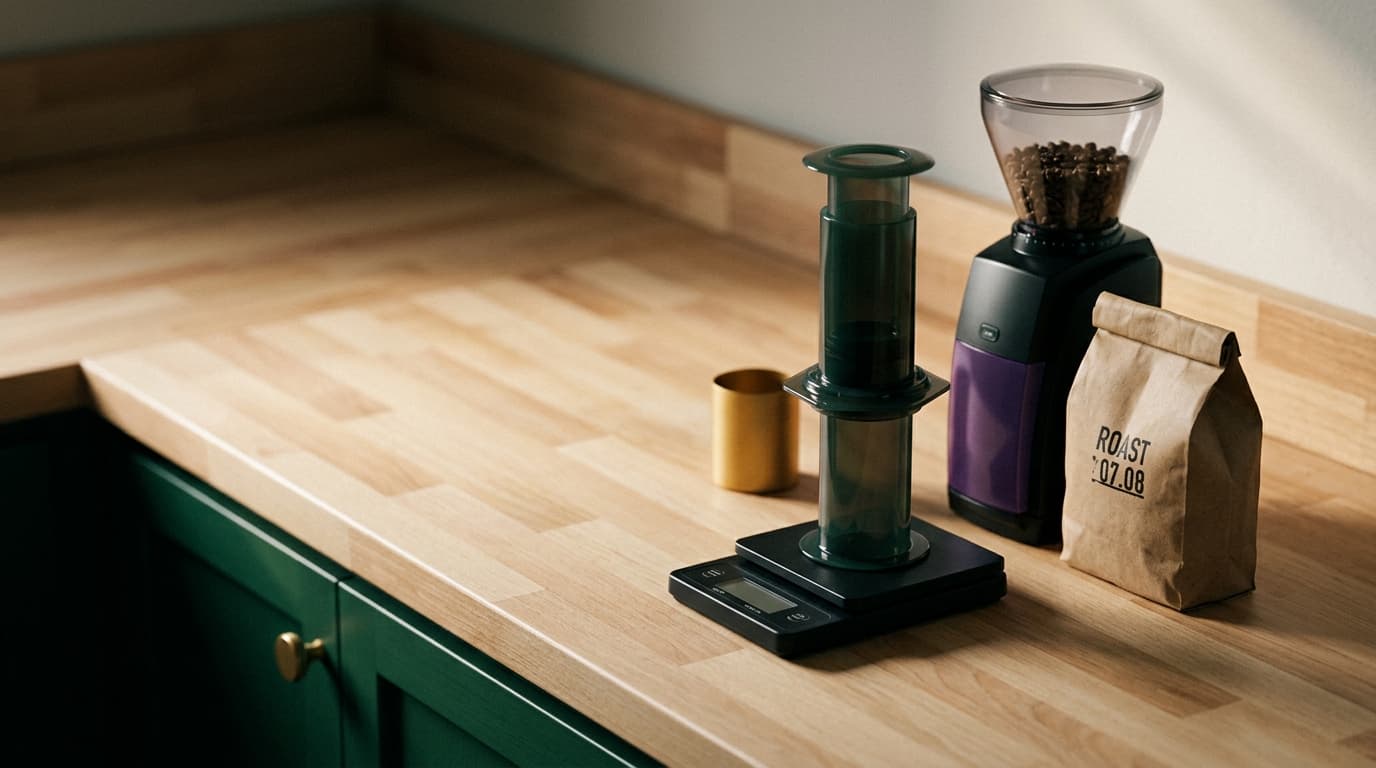
My Practical Home Coffee Setup: What's Worth It and What to Skip
A plain breakdown of the burr grinder, brewer, and beans in my daily morning coffee routine, including what is actually worth buying and what gear to skip.
August 2, 2026 · 3 min read